Deploy a Hugging Face App on Leapcell
This tutorial demonstrates how to deploy an image classification application using the Hugging Face ResNet model.
The deployment process is similar for other Hugging Face models; you only need to change the model and processor names.
You’ll need a GitHub account to proceed. If you don’t have one, you can create on the GitHub website.
1. Fork the Hugging Face image classification example on GitHub.
Repo: Hugging Face image classification example
This example uses a pre-trained model from Hugging Face's transformers library to classify images. The main.py file from that repository looks like this:
First, you need a load_model.py file to load the model and processor:
from transformers import AutoImageProcessor, ResNetForImageClassification

MODEL_PATH = "./model"

model_name = "microsoft/resnet-50"

model = ResNetForImageClassification.from_pretrained(model_name)
processor = AutoImageProcessor.from_pretrained(model_name)

# Save to the specified path
model.save_pretrained(MODEL_PATH)
processor.save_pretrained(MODEL_PATH)
Next, you need an app.py file to launch the Flask application:
from flask import Flask, request
from PIL import Image
from transformers import AutoImageProcessor, ResNetForImageClassification
import torch
import base64
from io import BytesIO
import time

app = Flask(__name__)

# Path to the locally saved model
MODEL_PATH = "./model"

# HTML templates
INDEX_HTML = """
<!DOCTYPE html>
<html>
<body>
<form action="/predict" method="post" enctype="multipart/form-data">
    <label>Select image to upload:</label>
    <input type="file" name="image">
    <input type="submit" value="Upload Image">
</form>
</body>
</html>
"""

RESPONSE_HTML = """
<!DOCTYPE html>
<html>
<body>
<img src="data:image/png;base64,{img_base64}" alt="image" width="500" height="600">
<form action="/predict" method="post" enctype="multipart/form-data">
    <label>Select image to upload:</label>
    <input type="file" name="image">
    <input type="submit" value="Upload Image">
</form>
<p>Prediction: {prediction}</p>
<p>Score: {score:.2f}</p>
<p>Time taken: {time_taken:.2f} seconds</p>
</body>
</html>
"""

# Load the model and processor from the local path
model = ResNetForImageClassification.from_pretrained(MODEL_PATH)
processor = AutoImageProcessor.from_pretrained(MODEL_PATH)


@app.route("/")
def index():
    """Render the upload page."""
    return INDEX_HTML


@app.route("/predict", methods=["POST"])
def predict():
    """Handle image upload, make predictions, and return results."""
    start_time = time.time()

    # Get the uploaded image file
    img_file = request.files.get("image")
    if not img_file:
        return "No image uploaded. Please upload a valid image."

    # Process the image for prediction
    img = Image.open(img_file)
    inputs = processor(img, return_tensors="pt")
    with torch.no_grad():
        logits = model(**inputs).logits
        predicted_label = logits.argmax(-1).item()
        confidence_score = torch.softmax(logits, dim=-1)[0, predicted_label].item()

    # Encode the image in Base64 to display it in the HTML response
    buffer = BytesIO()
    img.save(buffer, format="PNG")
    img_base64 = base64.b64encode(buffer.getvalue()).decode("utf-8")

    # Calculate elapsed time
    time_taken = time.time() - start_time

    # Return the HTML with prediction results
    return RESPONSE_HTML.format(
        img_base64=img_base64,
        prediction=predicted_label,
        score=confidence_score,
        time_taken=time_taken,
    )


# Run the Flask application
if __name__ == "__main__":
    app.run(host="0.0.0.0", port=8080)
2. Create a Service in the Leapcell Dashboard and connect your new repository.
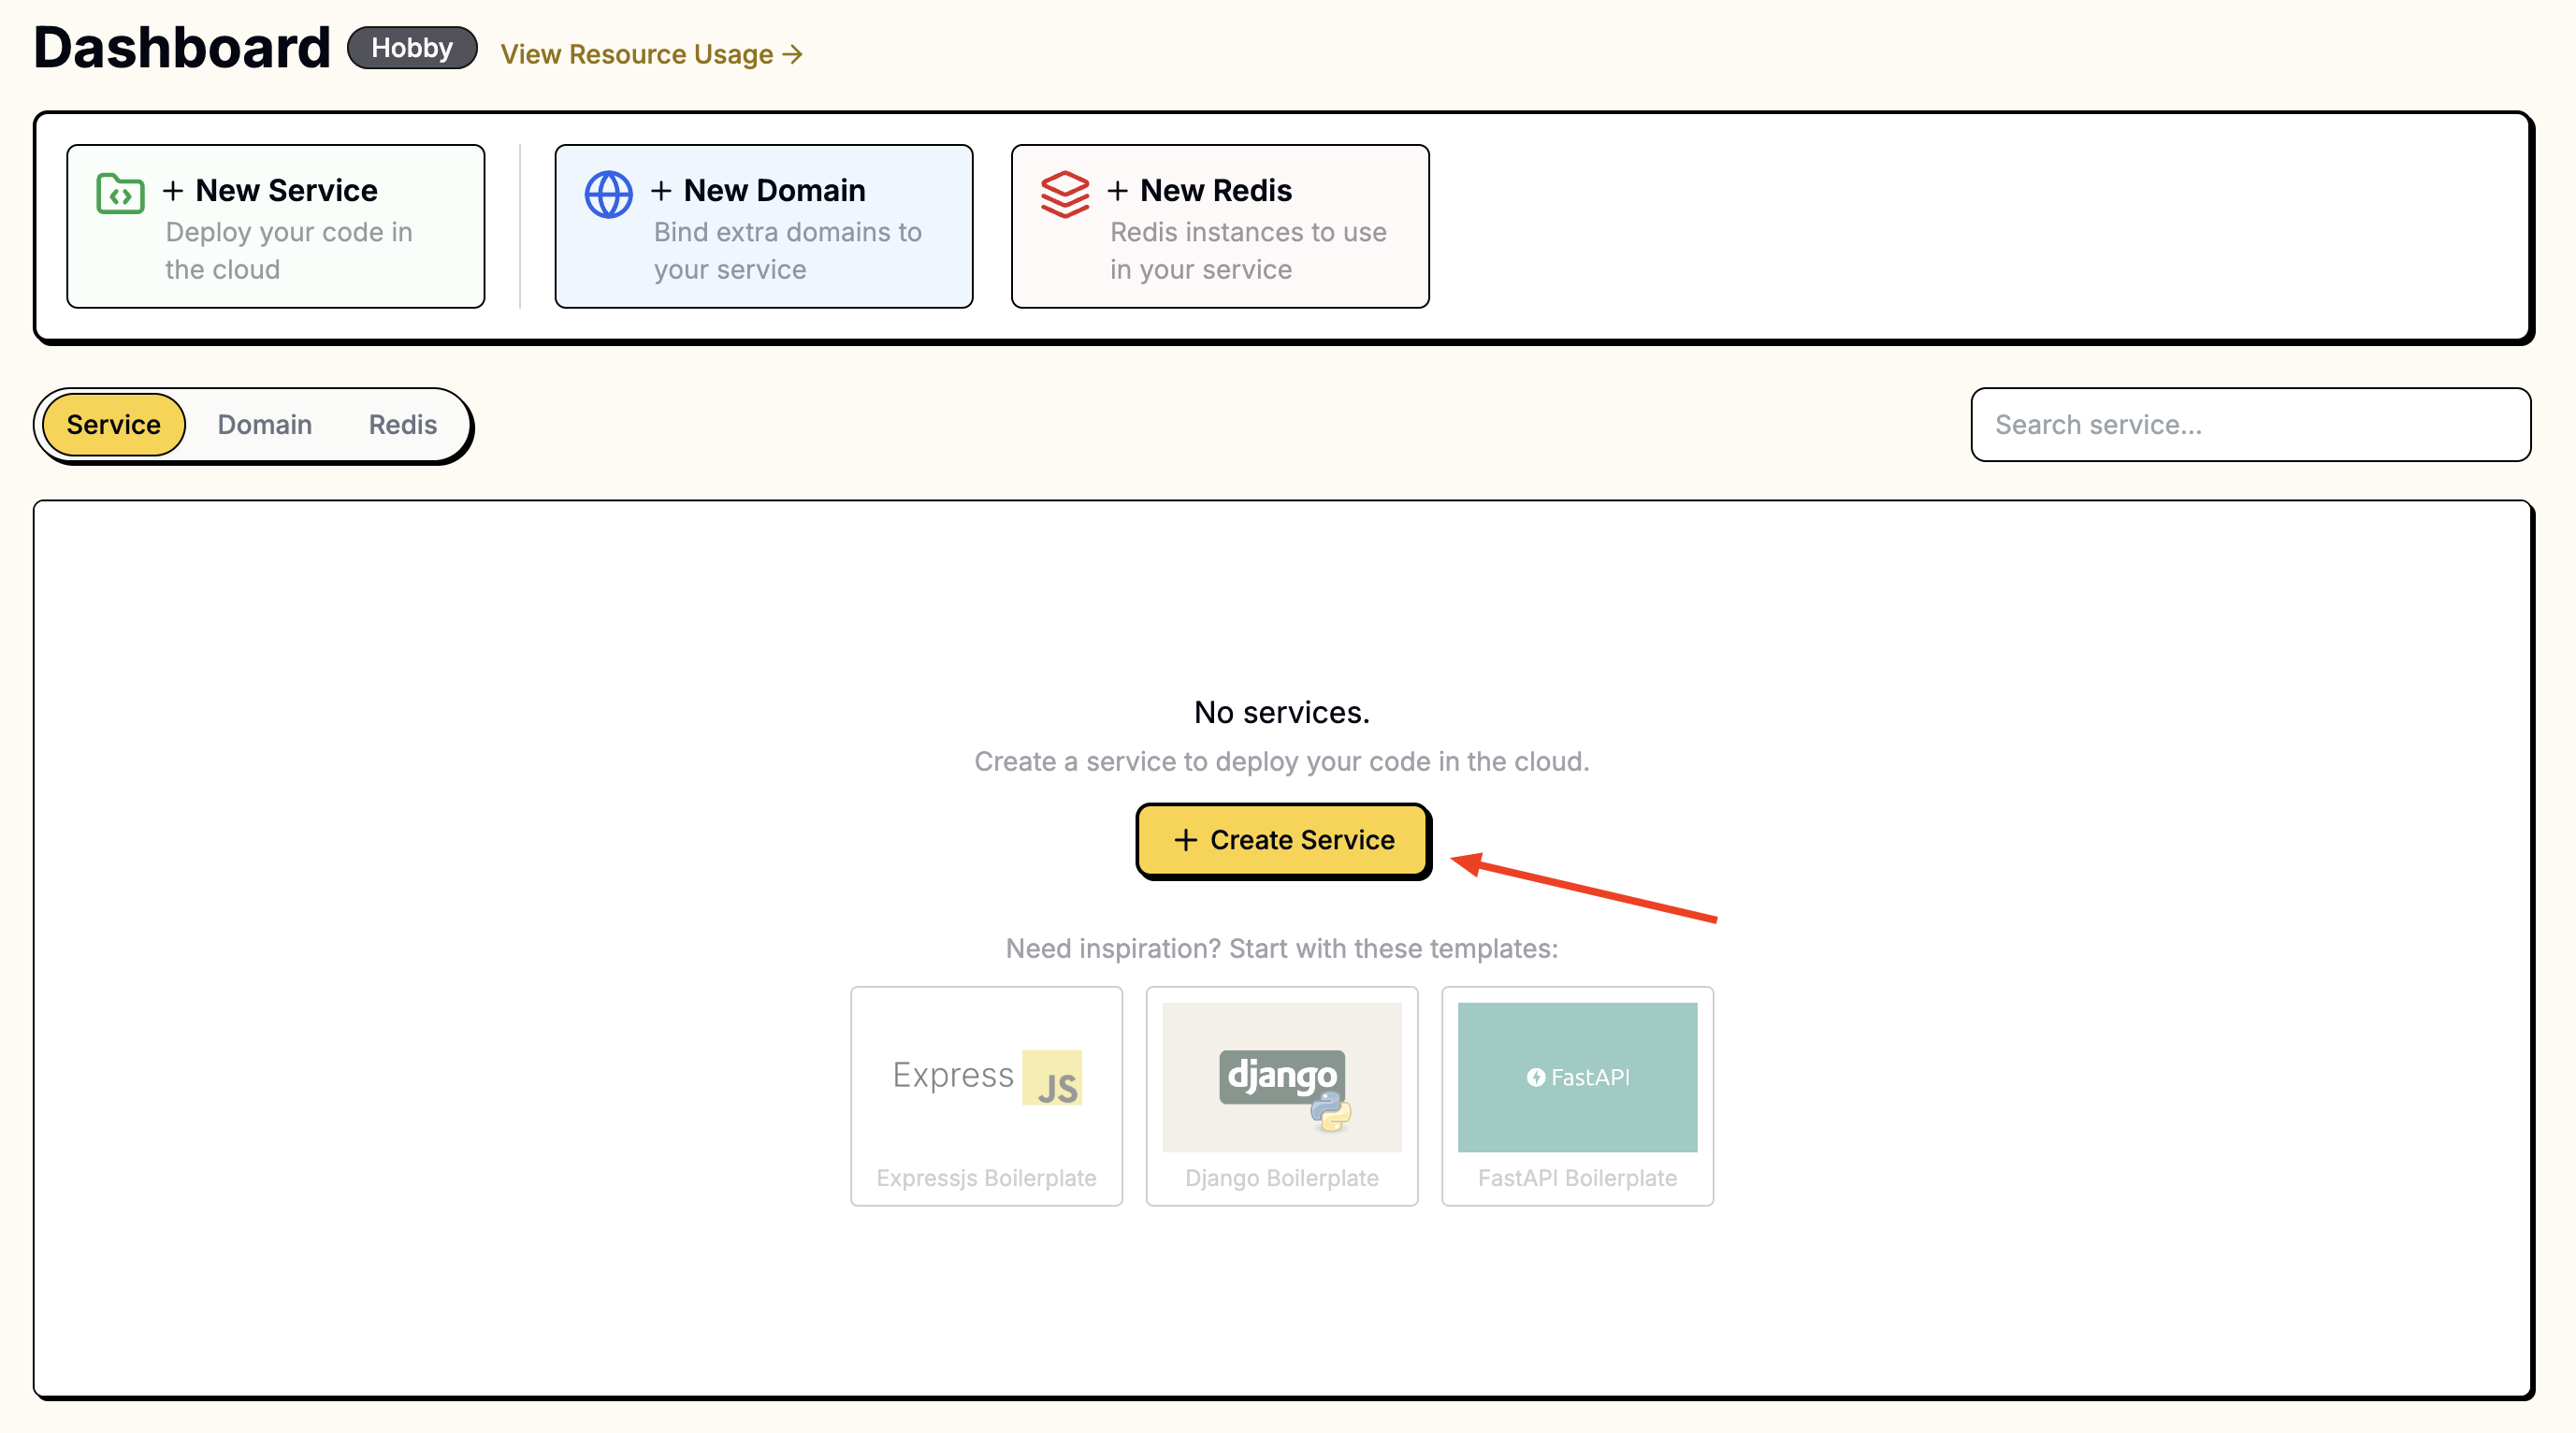
Go to the Leapcell Dashboard and click the New Service button.

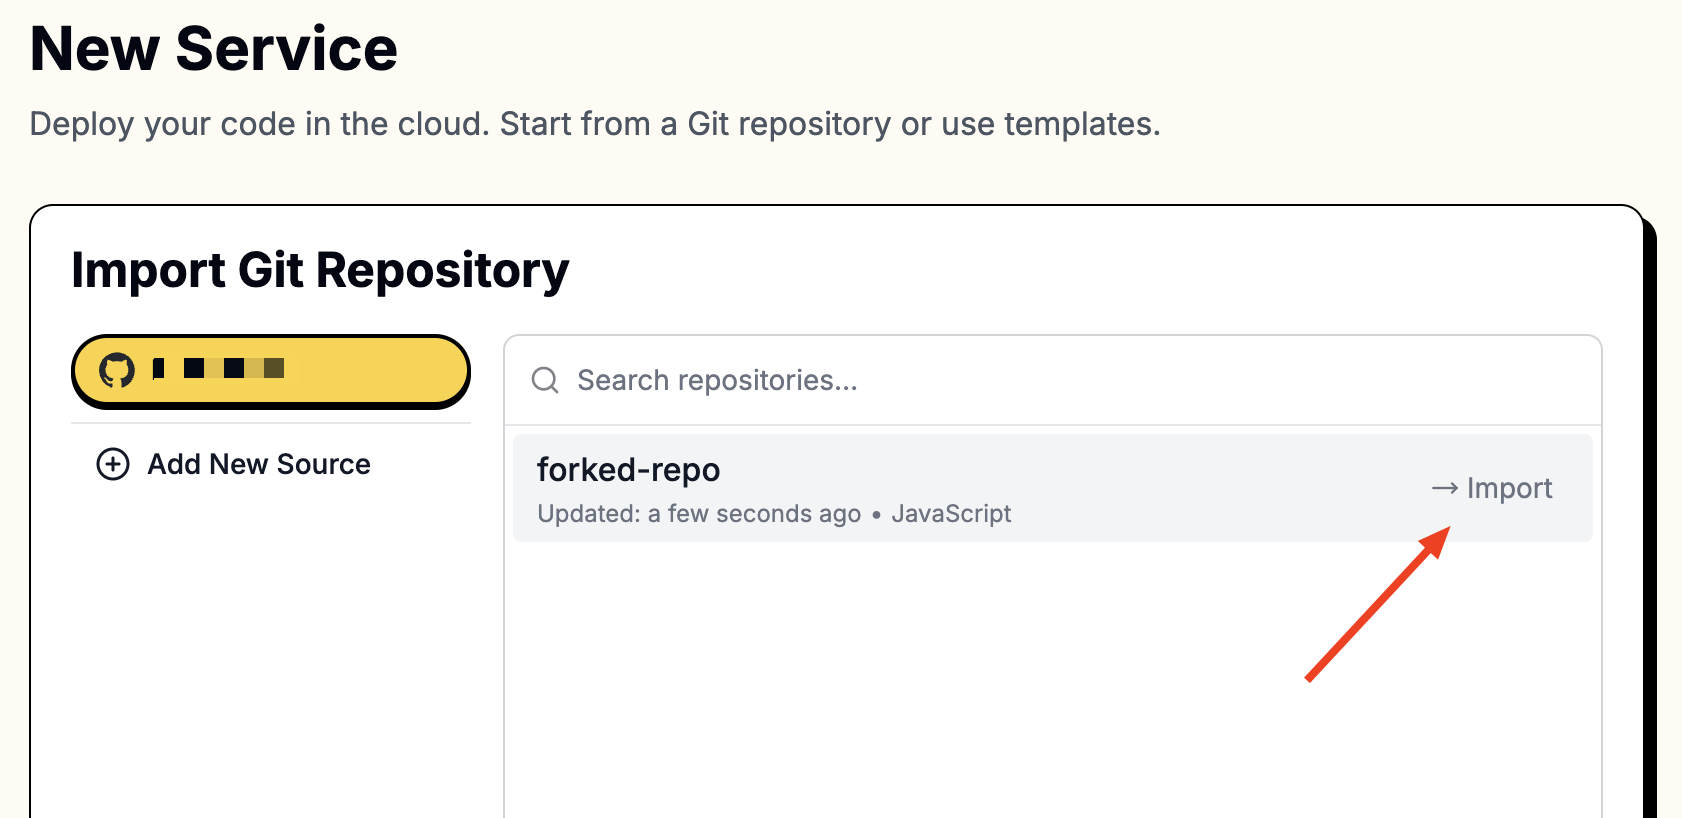
On the "New Service" page, select the repository you just forked.

To access your repositories, you’ll need to connect Leapcell to your GitHub account.
Follow these instructions to connect to GitHub.
Once connected, your repositories will appear in the list.
3. Provide the following values during creation:
Since Hugging Face models are based on PyTorch, we need to install torch and transformers. Installing torch directly via pip install torch will include many CUDA-related components. As Leapcell machines do not have GPUs, this would unnecessarily increase the image size. Instead, we install the CPU-only version of torch.
pip install torch torchvision torchaudio --index-url https://download.pytorch.org/whl/cpu
Additionally, the model needs to be loaded.
The final build command is as follows:
pip install torch torchvision torchaudio --index-url https://download.pytorch.org/whl/cpu && pip install -r requirements.txt && python load_model.py
We also use Gunicorn to run the app. Ensure gunicorn is included in your requirements.txt.
| Field | Value |
|---|---|
| Runtime | Python (Any version) |
| Build Command | pip install torch torchvision torchaudio --index-url https://download.pytorch.org/whl/cpu && pip install -r requirements.txt && python load_model.py |
| Start Command | gunicorn -w 1 -b :8080 app:app |
| Port | 8080 |
Enter these values in the corresponding fields.

4. Access Your App:
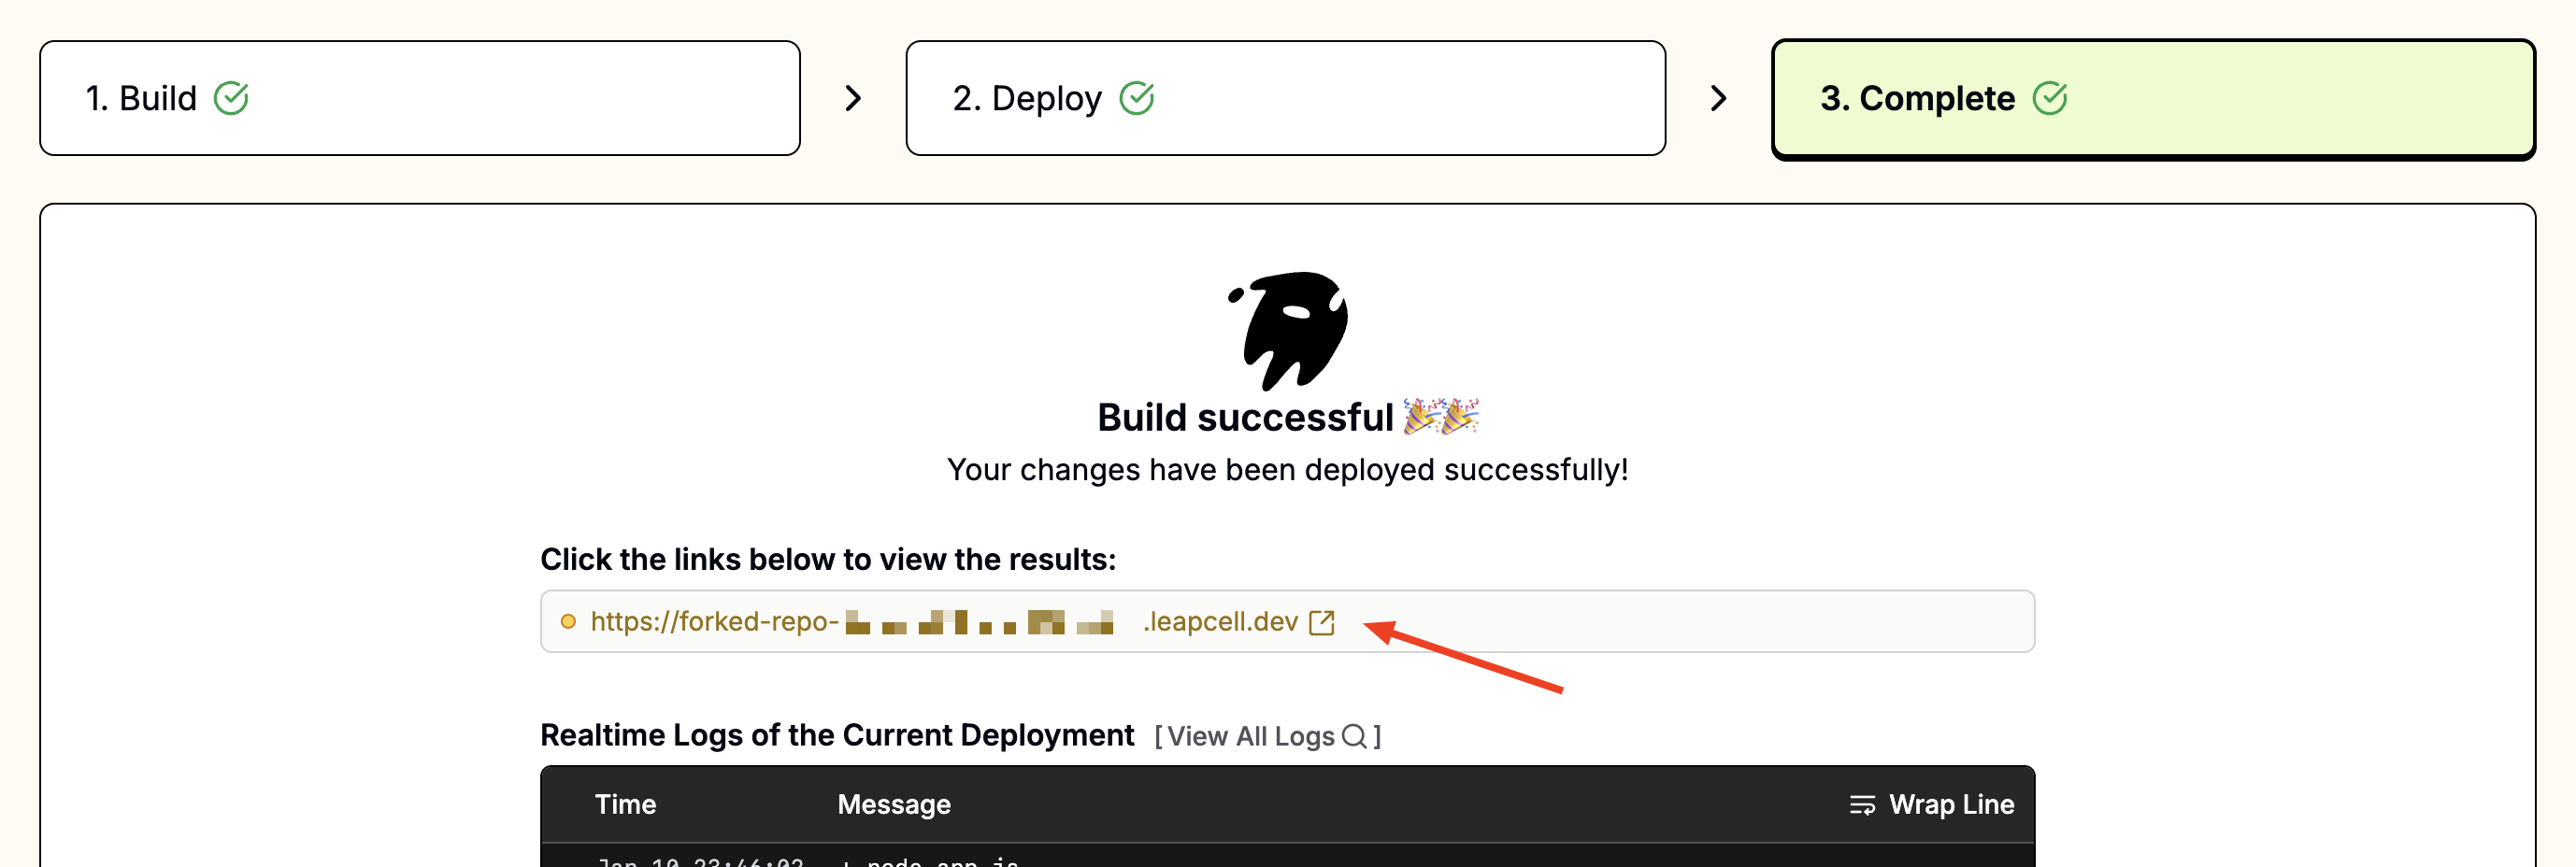
Once deployed, you should see a URL like foo-bar.leapcell.dev on the Deployment page. Visit the domain shown on the service page.

Continuous Deployments
Every push to the linked branch automatically triggers a build and deploy. Failed builds are safely canceled, leaving the current version running until the next successful deploy.
Learn more about Continuous Deployments.