What is Leapcell Service?
Leapcell Service is a fully managed, serverless platform designed to run your code without the need for server management.
It allows you to focus on writing code while Leapcell handles the infrastructure, scaling, and maintenance.

Serverless Mode
Leapcell Serverless Service is a hosting platform that adheres to the 12 Factor methodology, providing a fully Serverless experience.
Below is an architectural overview of the service.

Concepts
CPU, Memory, and Network
Leapcell Service dynamically allocates CPU and network resources based on the selected memory size. By adjusting the memory size, you can optimize both performance and cost. Billing is calculated per millisecond of compute time.
Smaller memory sizes aren’t always cheaper. For instance:
- A service with 128MB memory takes 1s to complete.
- The same service with 1024MB memory takes 0.1s to complete.
The cost remains the same, but the higher memory configuration offers faster execution and better network bandwidth. For example:
- A 300MB configuration can call Leapcell Table in under 50ms, while a 128MB configuration might take 100ms due to lower CPU and network resources.
| Configured Memory (MB) | Allocated Cores |
|---|---|
| 128–1769 | 1 |
| 1770–3538 | 2 |
| 3539–5307 | 3 |
| 5308–7076 | 4 |
| Memory | CPU Cap |
|---|---|
| 192 MB | 10.8% |
| 256 MB | 14.1% |
Storage
Leapcell Service provides limited writable storage.
- Only the
/tmpdirectory is writable and intended for temporary files. - Other directories are read-only. Attempting to write to them will result in a permission error.
Do not store critical data in /tmp. This directory is non-persistent—its contents will be lost if the service restarts. Use persistent storage services like Leapcell Redis for durable storage.
Environment Variables
Sensitive information like database credentials should be managed through environment variables:
- These variables are encrypted and private.
- Configure them via the Service > Environment section. Changes are applied automatically without restarting the service.
Packaging and Deployment
Packaging bundles your code and dependencies into an image, which is automatically deployed.
Worker Resources for Packaging
| Plan | Resources |
|---|---|
| Hobby | 2 vCPUs, 4GB RAM |
| Pro | 4 vCPUs, 10GB RAM |
Deployment Steps
-
Manual Deployment
- Click Manual Deploy in the Service page.
- Fill out the required fields as described below.
-
Configuration Details
- Runtime: Select from supported runtimes like Python, Node.js, Go, or Rust.
- Build Command: Specify the command to install dependencies.
Examples:
- Python:
pip install requests - Web App:
pip install -r requirements.txt - AI App:
apt-get update && apt-get install -y libsm6 libxext6 libxrender-dev
pip install tensorflow pillow
- Python:
- Start Command: Provide the command to start your service. Ensure it's optimized for minimal cold start times.
Examples:- Flask:
gunicorn -w 1 -b :8080 app:app - Express.js:
node app.js
- Flask:
- Serving Port: The port your service listens on (default:
8080). Ensure this matches the port in your Start Command. - Environment Variables: Add any additional variables specific to the deployment.
-
Deploy
Click the Deploy button to start packaging and deploying your service.
Debugging Deployment Issues
-
Build Failures:
Check Deployment Information for real-time logs and troubleshoot based on the output. -
Start Failures:
If the service deploys successfully but fails to respond, refer to the Observability section for debugging tips.
Persistent Server Mode

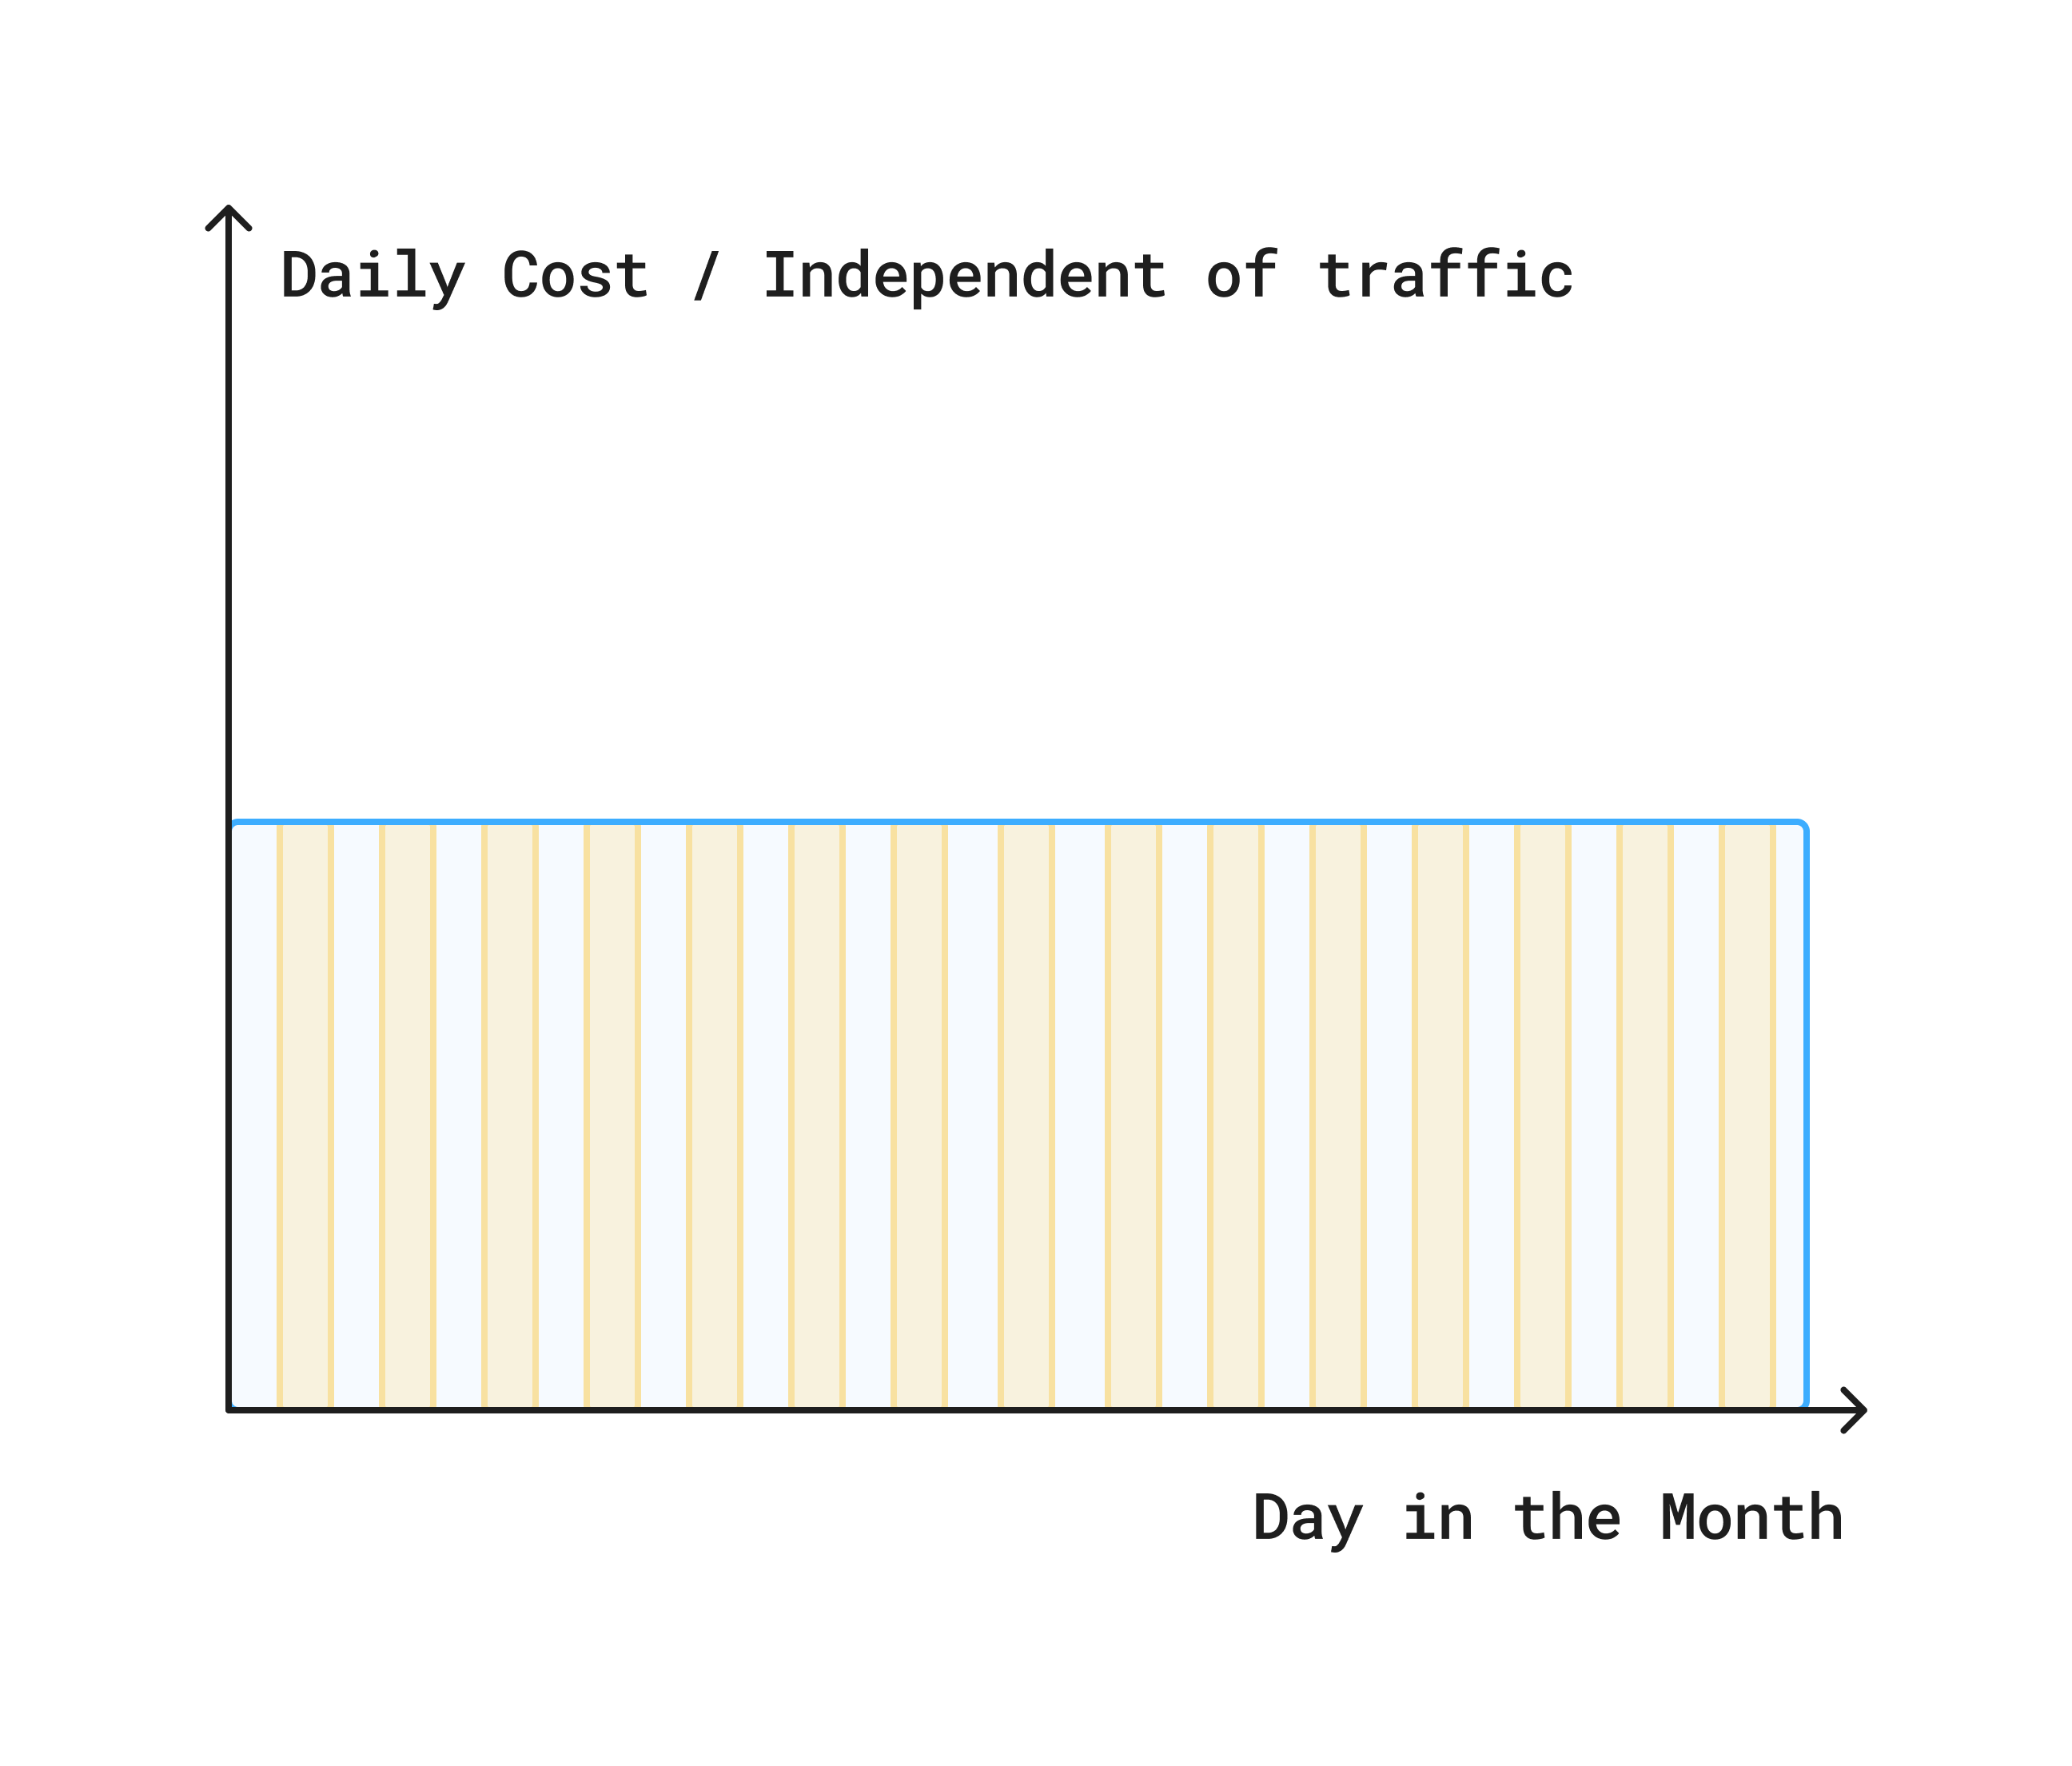
The Persistent mode provides you with a dedicated, continuously running instance, much like a local machine or a traditional cloud server.
It remains active and ready to serve traffic at all times, regardless of inbound request volume. This mode is billed based on a fixed time interval, such as per hour or per month.