Deploy a Next.js App on Leapcell
If the solution below does not resolve your issue, feel free to join our Leapcell Discord community for further assistance.
Quickly deploy your Next.js app on Leapcell in a few steps. You can use our example app or your own.
You’ll need a GitHub account to proceed. If you don’t have one, you can create on the GitHub website.
1. Fork the Next.js boilerplate on GitHub.
Repo: Next.js boilerplate
This is a simplified Next.js program based on the Next.js Tutorial.
If you’re new to Next.js, we recommend following the Next.js Tutorial first.
2. Create a Service in the Leapcell Dashboard and connect your new repository.
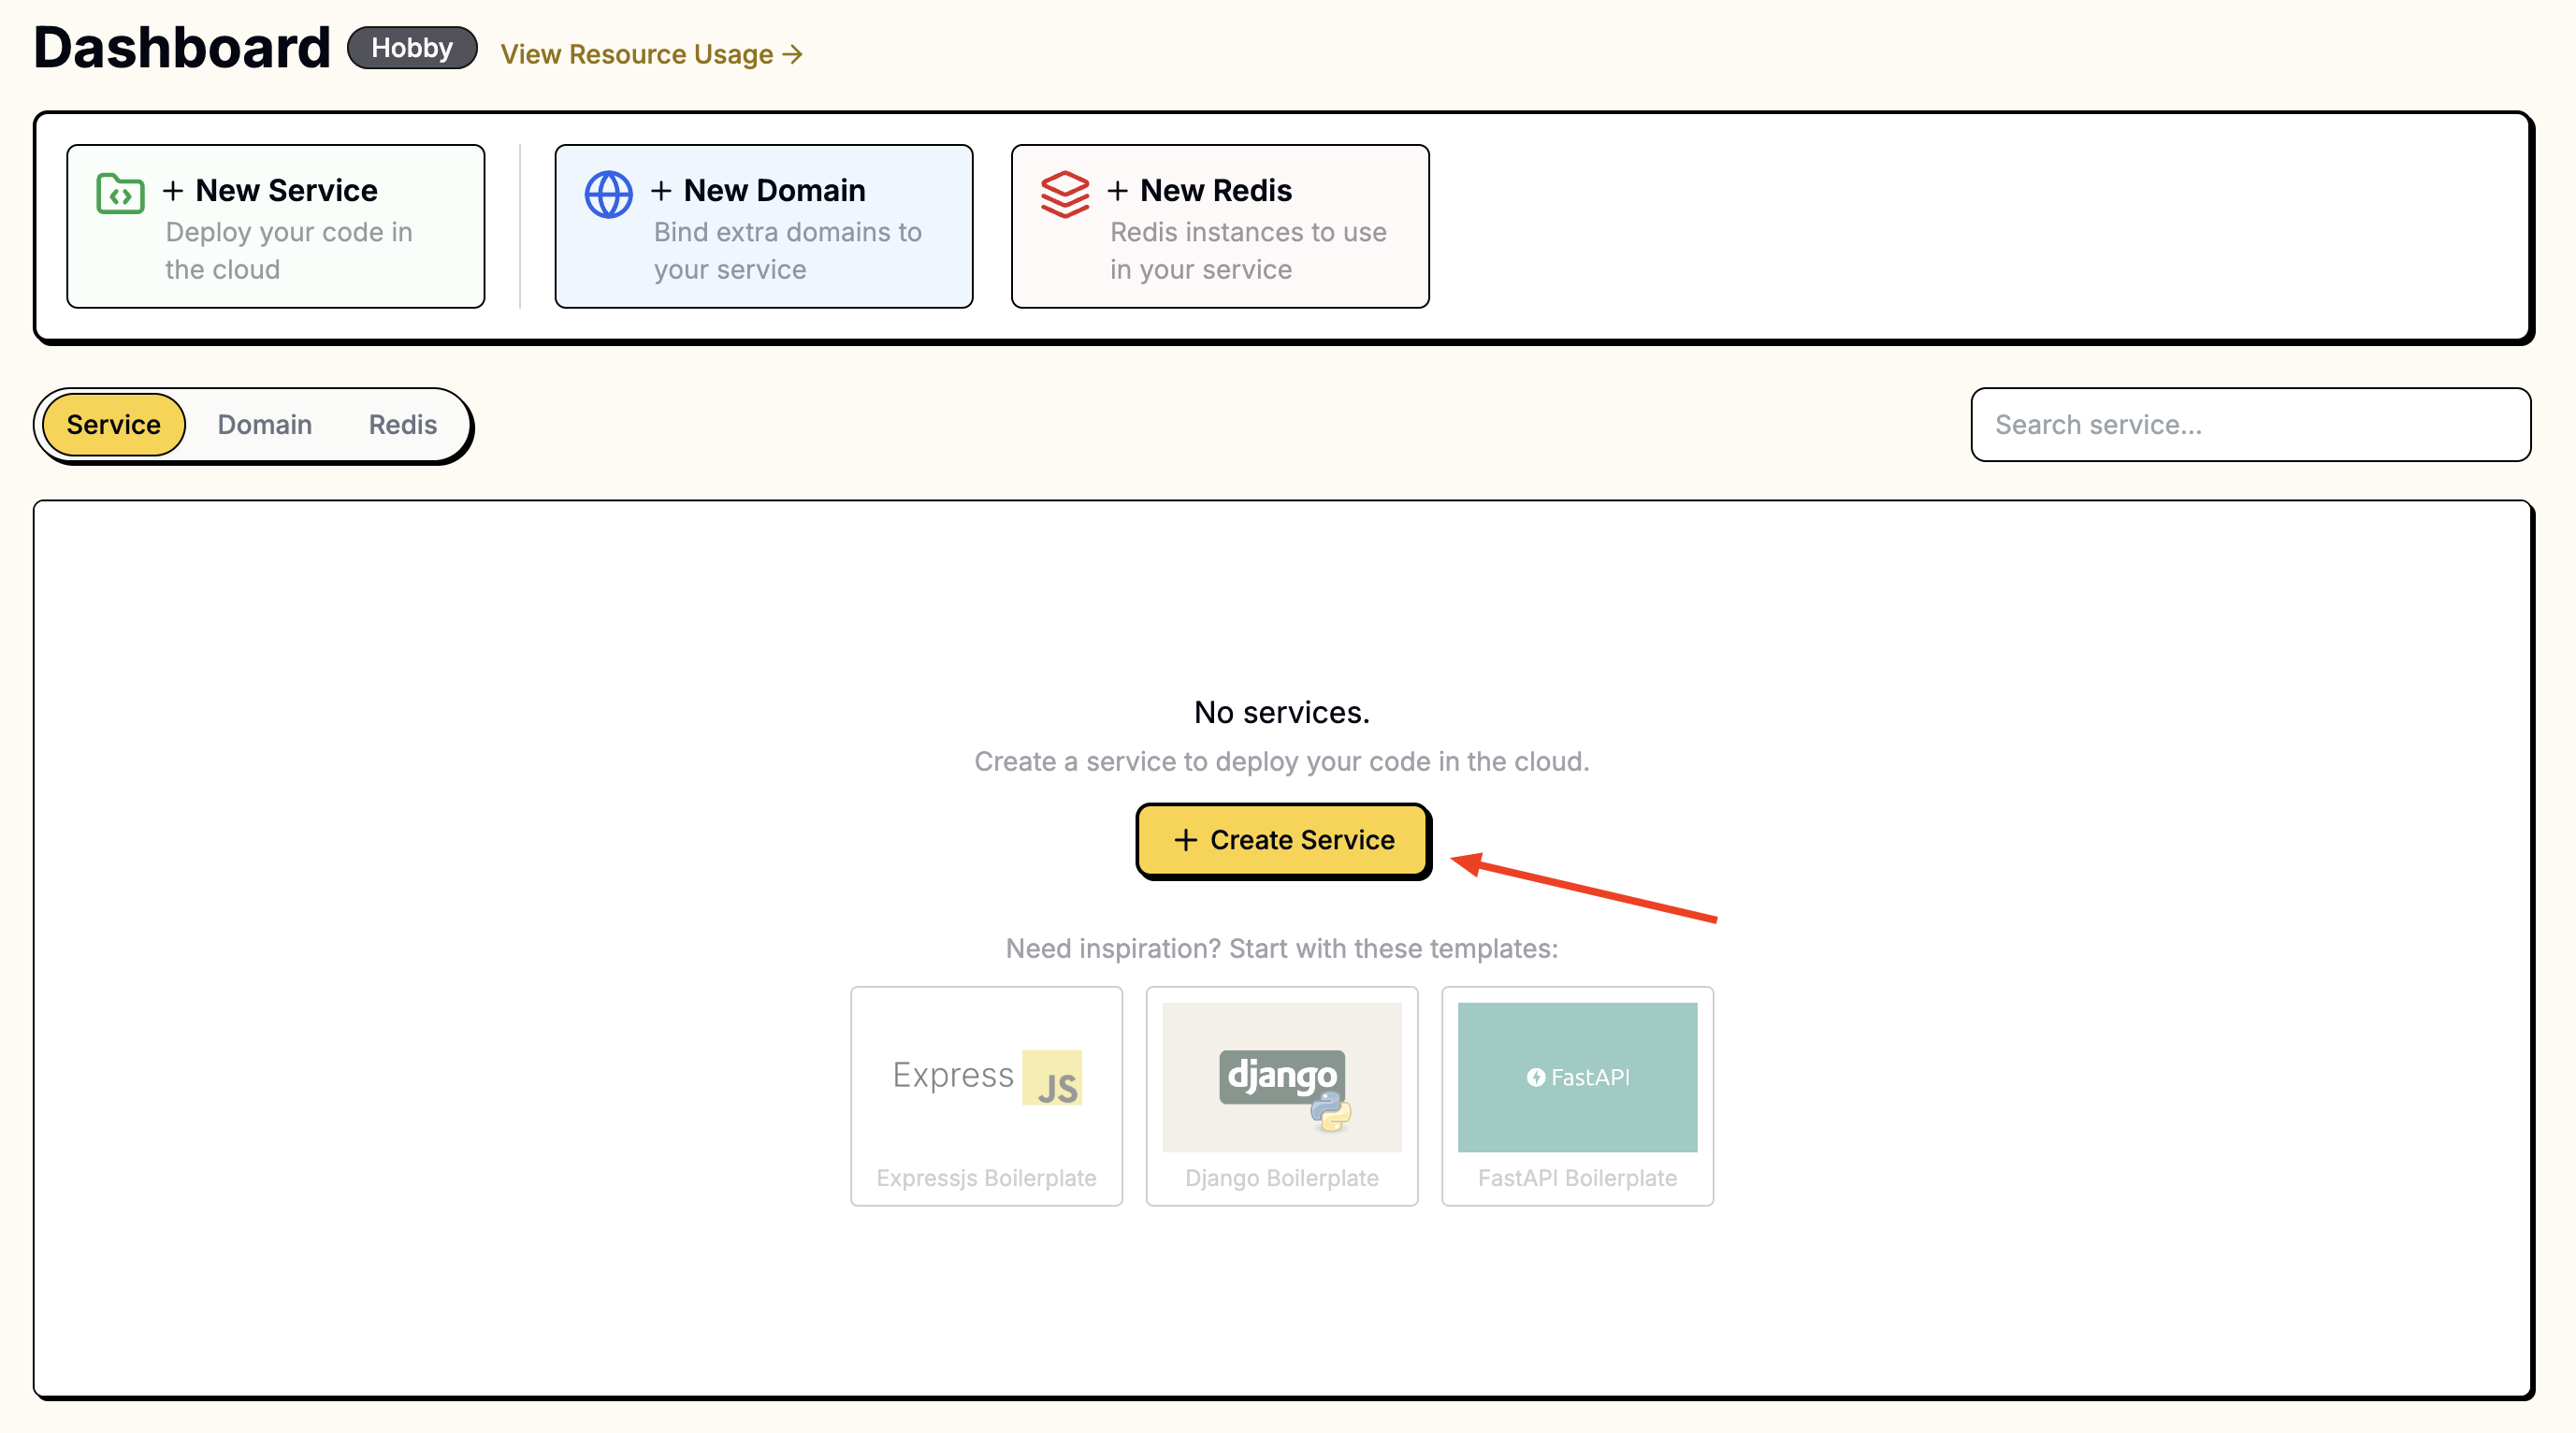
Go to the Leapcell Dashboard and click the New Service button.

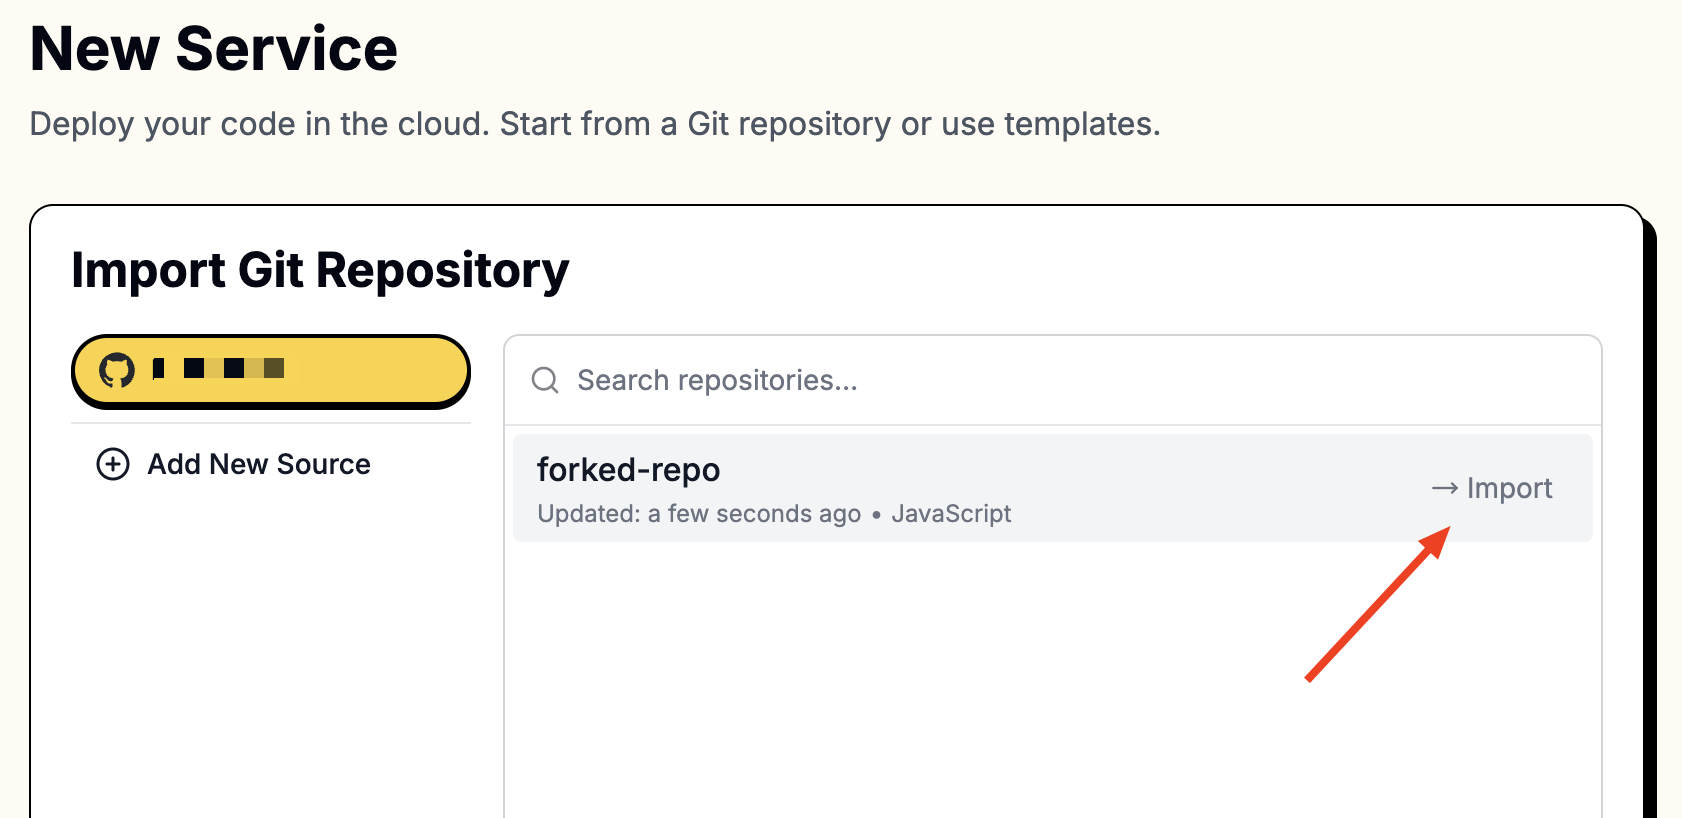
On the "New Service" page, select the repository you just forked.

To access your repositories, you’ll need to connect Leapcell to your GitHub account.
Follow these instructions to connect to GitHub.
Once connected, your repositories will appear in the list.
3. Provide the following values during creation:
Next.js requires a build step, so the build command should be npm install && npm run build.
| Field | Value |
|---|---|
| Runtime | Node.js (Any version) |
| Build Command | npm install && npm run build |
| Start Command | npm start |
| Port | 3000 |
Enter these values in the corresponding fields.

Leapcell’s default port is 8080, while the Next.js framework uses 3000 as the default port. Ensure you configure this correctly.
4. Access Your App:
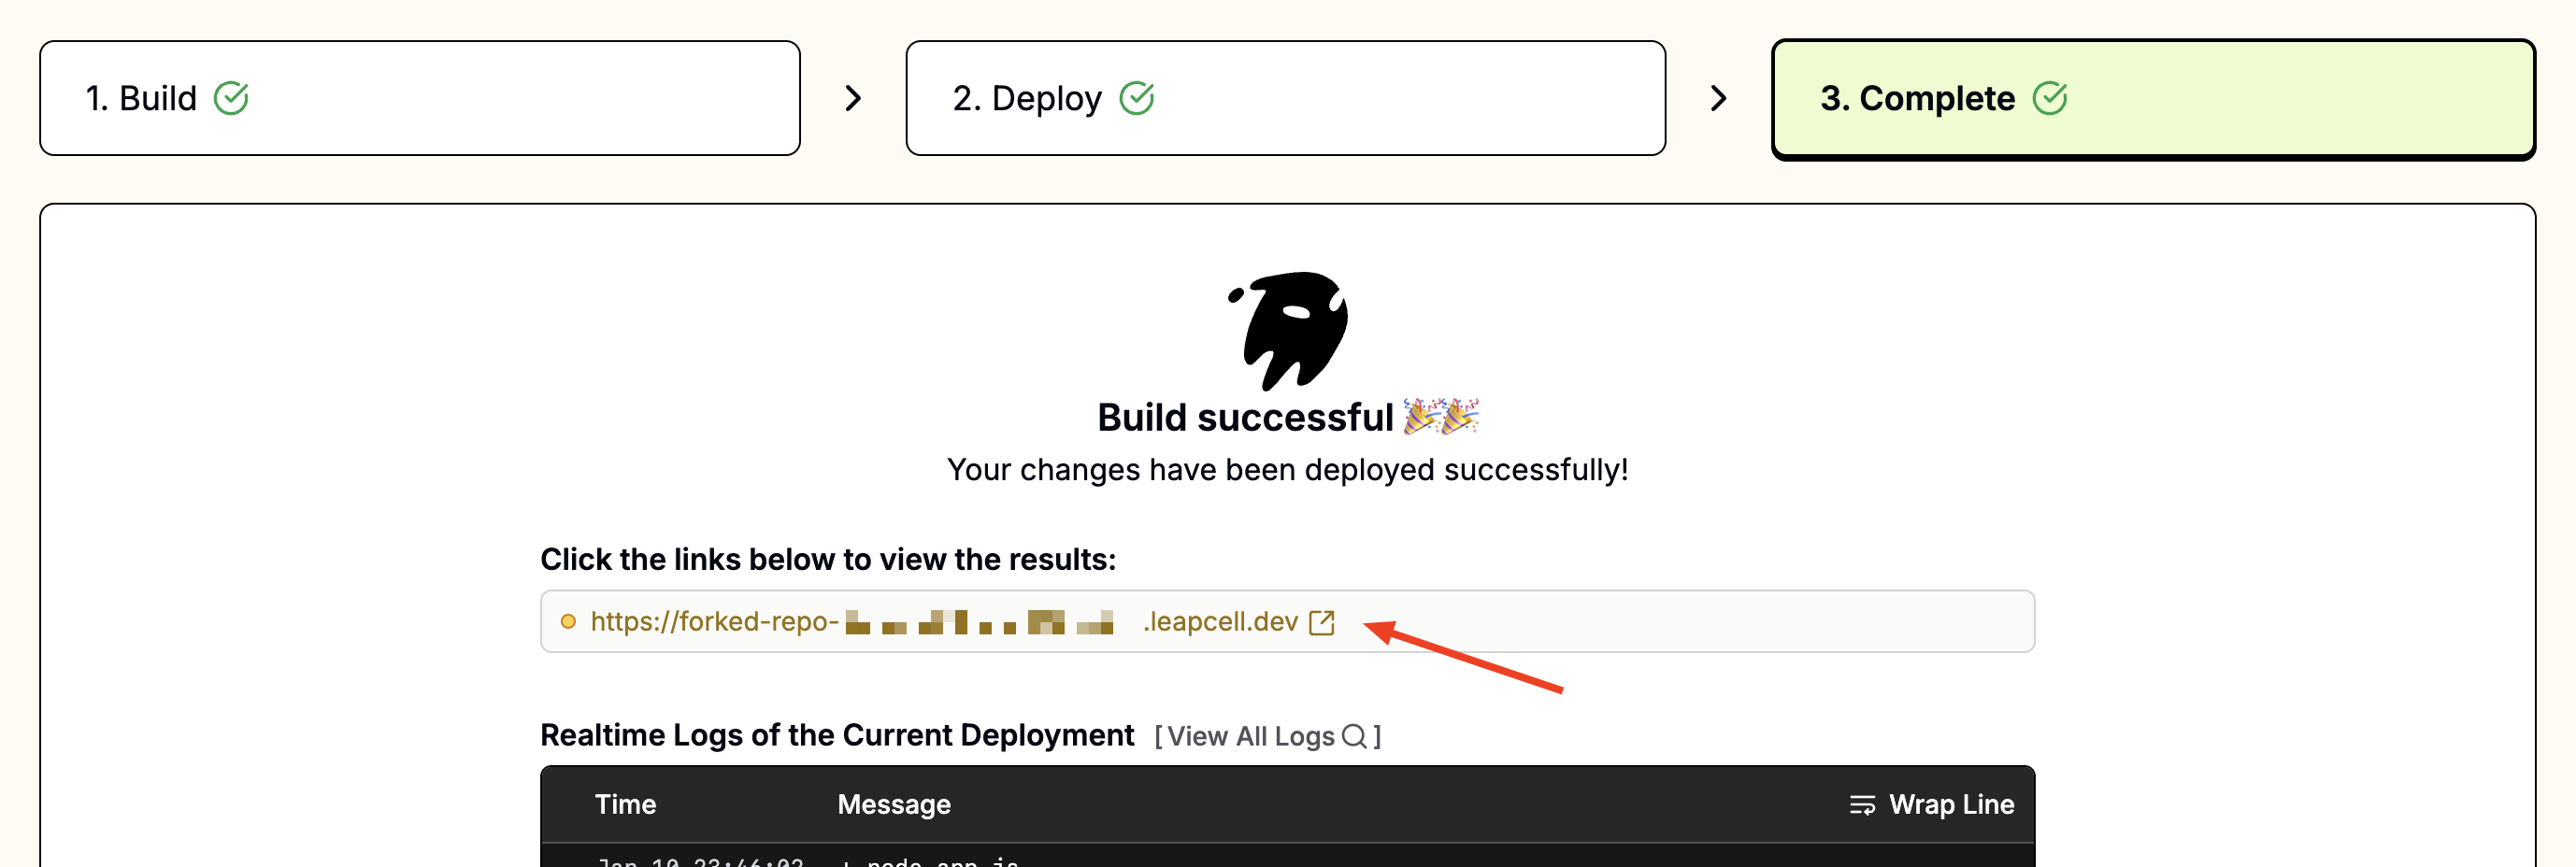
Once deployed, you should see a URL like foo-bar.leapcell.dev on the Deployment page. Visit the domain shown on the service page.

Continuous Deployments
Every push to the linked branch automatically triggers a build and deploy. Failed builds are safely canceled, leaving the current version running until the next successful deploy.
Learn more about Continuous Deployments.